Pages

Showing posts with label baked. Show all posts

Wednesday, December 21, 2011

G is for Gingerbread House

I did it!  I successfully baked my own gingerbread house pieces, whipped up my own royal frosting, used an authentic piping bag (as opposed to the ziploc variety), and decorated a little Candy Land dream all by myself!  This was on my goal list and now I can put a big fat check mark next to this accomplishment.  I see no need for the store-bought kits now, although my years of using the gingerbread kit from Michaels probably prepared me for this moment.  Honestly, this kitchen craft wasn't too difficult;  it just took a lot of time.     


I had an incredible amount of candy to work with since my students decorated their own gingerbread houses on our last day of school before break.  Even if I'd sent home a bag of candy with each child, I would've still had leftovers because a kindergarten teacher donated a dozen half bags of candy to our cause as well.  Wow!  The kids worked hard to calculate gingerbread budgets and "bought" their candy from me to decorate their houses.  One student's grandmother sent in precious little gingerbread men that the kids put in their yards.  I manned a sprinkle and coconut snow station in the classroom and told the class that they could only eat a piece of candy when they heard a bell ring.  They demonstrated wonderful self control!  Granted, some of them sighed and groaned when their hands were coated with frosting and I wouldn't let them lick it off, but I probably would've responded in the same way if I were in their shoes.  I wish you could've heard the cheers each time I rang the official candy bell.  Those kids have never been so happy to pop a marshmallow or a gum drop in their mouths!  Any guesses on how many pieces of candy I let them eat before I loaded them on the bus with their candy-coated creations?  Three.  Just three.  Aren't I a grinch?!  


Thank goodness no one was there to ring a candy bell in my kitchen!  I licked a little bit of frosting off my fingers.  I ate a few sour straws.  I munched on mini candy canes.  I may have polished off the rest of the mini M&Ms...and I had a blast!    

To create my confectionary abode, I used a Pampered Chef stoneware gingerbread house mold (circa 1992) from my mother-in-law.  It came with directions and recipes and a reusable piping bag with interchangeable tips.  I'll share the recipe, but understand that this dough was dry and crumbly and had to be tightly packed into the stoneware mold.  This gingerbread recipe is not for rolling out and cutting or shaping the pieces of the house.  After baking for 20 minutes, the pieces came out without a hitch and I was able to glue all the sides of the house together without any serious crumbles or cracks.                    


Gingerbread Base
from Pampered Chef

3 c. flour
1 1/2 tsp. cinnamon
1 tsp. ground ginger
1/4 tsp. ground cloves
1/4 tsp. salt
1/2 c. butter, softened
1/2 c. sugar
1/2 c. molasses
1 egg yolk

Preheat oven to 350 F.  Lightly grease mold with vegetable oil spray.  Blot out excess oil with a paper towel.  Set aside.  Combine flour, cinnamon, ginger, cloves, and salt.  Set aside.  In a large mixing bowl, beat butter and sugar at high speed until light and fluffy.  Add molasses and egg yolk and beat until smooth.  Gradually add flour mixture and continue to beat until dough is thoroughly combined.  Dough will be stiff and slightly dry.  Gather dough into a large ball.  Press half of dough firmly into greased mold.  Wrap remaining dough in plastic wrap to prevent further drying.  Level off back of dough in mold using a serrated knife.  Bake for 20 minutes or until lightly browned.  Place a cooling rack over surface of mold.  Flip mold and cooling rack together to unfold house pieces directly onto the rack.  Let mold cool completely before refilling and baking with the second half of the dough.  Lightly grease mold again before refilling.  


Royal Icing
This sticky icing acts as the mortar to hold the house together.  

3 c. powdered sugar
2 egg whites
1/2 tsp. cream of tartar

Place all ingredients in a non-plastic mixing bowl.  Beat on high speed with mixer until frosting is glossy and holds peaks, about 5 minutes.  This frosting dries very quickly, so cover the bowl with plastic wrap when not being used.  Frosting can be tinted with food color if desired.      


Sunday, September 11, 2011

G is for "Gobs"

Grandmothers teach us all sorts of lessons about how to behave, how to play, and how to learn.  My paternal grandmother taught me how to enjoy the little things in life.  She made me appreciative for things like warm buttery toast, a corn maze, a hand-written note, and the great potential in a deck of cards.  She modeled humility and selflessness.  She valued friendship and love over any material object and showed us how to put family first.  She could put together an expansive Thanksgiving feast for twenty while laughing away in the kitchen.  And let me just add that if canning were an Olympic sport, she'd have a lot of gold medals.  For the homemade bread, the potato salad, the savory venison sandwich spread, and the myriad of desserts, I must get my hands on her recipe box!          


Sadly, my beloved Grandma passed away after a serious stroke during the last week in August.  She spent her last five years in a wheel chair at a nursing home, but she didn't let these obstacles hold her back.  She was the president of the residents committee, visited with loved ones daily, wrote letters regularly, and remained eternally optimistic.  She was a strong, admirable woman and lived a happy, fulfilling life.  


I've cried all over my keyboard just typing these two paragraphs because I can barely begin to explain how much I will miss my Grandma.  I can, however, bake.  Sometimes when words escape me, my mind is racing, and my emotions are running rampant, I find it very comforting to spend a while in the kitchen.  

This week I made one of my Grandma's most famous desserts: gobs.  You may know them better as whoopie pies, but to me and my cousins, they will always be gobs.  Grandma made these treats for us every summer and stored them in the chilly coal bin in the basement.  My brother and I would emerge from the basement with a gob in our grasp and Grandma would pour us big glasses of milk.  We ate those sticky sandwiches while sitting next to her on the glider out on the front porch.  It was unforgettable.      


Grandma Diehl's Gobs

1 c. cocoa
1/2 c. hot water
1 c. butter
2 c. sugar
3 eggs
1 tsp. vanilla
4 c. flour
1/2 tsp. salt
1/2 tsp. baking soda

Mix together all the ingredients in a mixer.  Grease cookie sheets and drop mixture in equally sized blobs.  Take the back of a spoon, dipped in hot water, and smooth each clump out.  Bake 7-9 minutes at 350 F.  Cool the gob pieces and ice with white frosting or vanilla ice cream to make little chocolate sandwiches.  You can sprinkle a bit of salt on top of them if you like.  Freezes well.  Makes about 30 gobs.


Grandma's Vanilla Icing

2 c. confectioner's sugar
1/2 c. butter, room temperature
1 tsp. vanilla
milk

Mix together in a mixer with enough milk to make a consistency like cake frosting.  Add milk 1 Tbsp. at a time.          


Sunday, June 5, 2011

C is for Compost Cookies

This recipe is so creative and fun that I have to recommend it.  Ever heard of Momofuku Milk Bar in New York?  Momofuku is a well-recognized restaurant group, but the Milk Bar is a restaurant specializing in milk and cookies.  Genius.  They serve a variety of over-sized cookies, candy bar pies, bagels, coffee, and flavored milks like "cereal milk."  I don't even have to explain what that means because I think you'll know what it is.  You just never knew you could order it at a bar!


One of Momofuku's specialties is their compost cookies, which are packed with pretzels, oats, butterscotch bits, potato chips, coffee grounds, rice krispies, and anything else that's in the pantry.  I love this!  I didn't include coffee grounds in my batch of cookies, but I've heard a tablespoon makes all the difference in the cookies sold in the milk bar.  Maybe I'll try that next time.  I have made these before with Pringles, graham crackers, Hershey's kisses, green M&M's, white chocolate chips, and Kix cereal.  Use whatever you have in your pantry for a delightful sweet and salty contrast.      


The most difficult aspect of this recipe is the wait time.  I whipped the eggs for about 10 minutes in the hard-working Kitchenaid mixer.  That's a long time.  I scooped out the cookies on parchment and let them chill in the fridge for a few hours.  That's a long time [to not eat the cookie dough].  Finally, after you bake them you have to let these guys cool on the cookie sheet so they won't crumble into a mess.  That's a long time too!  Basically, you shouldn't attempt this recipe if you're impatient, keep a very crowded refrigerator, or if you don't have a stand mixer.  Go with Nestle instead.

Compost Cookies
recipe by Christina Tosi

1 c. butter
1 c. sugar
3/4 c. light brown sugar
1 Tbsp. corn syrup
1 tsp. vanilla extract
2 eggs
1 3/4 c. all-purpose flour
2 tsp. baking powder
1 tsp. baking soda
2 tsp. kosher salt
1 1/2 c. your favorite baking ingredients (like chocolate chips, oats, Raisinettes, Rollos, butterscotch bits, rice krispies, M&Ms, etc.)
1 1/2 c. your favorite crunchy snack foods (chips, graham crackers, pretzels, etc.)


In a stand mixer, cream the butter, sugars, and corn syrup for a few minutes until fluffy and pale yellow in color.  On a low speed, add the eggs and vanilla.  Increase mixing speed to medium-high and start a timer for 10 minutes.  The creamed mixture should nearly double in size during this time.  

When the timer goes off, lower the speed and add the flour, baking powder, baking soda, and salt.  Once this is incorporated, add in the hodgepodge of your favorite baking ingredients and then your favorite snack foods only allowing it to mix until incorporated.  You do not want to over mix the batter.  

Using an ice cream scoop, portion cookie dough onto a parchment lined cookie sheet.  Wrap tightly with plastic wrap and refrigerate for an hour or up to a week.  If you bake the cookie dough at room temperature, it will not hold its shape.  

When you are ready to bake the cookies, preheat the oven to 400 F.  Take the plastic off the cookies and bake for 9-11 minutes.  The cookies should be brown around the edges and just beginning to brown in the center.  If they seem too doughy, give them a little more time in the oven.  Cool the cookies completely on the cookie sheet before transferring them to a container for storage.  


Saturday, May 28, 2011

R is for Rhubarb

When Rhubarb arrived in the farm box, I wasn't quite sure what to do with it.  I know that rhubarb is quintessentially spring and that my grandma used to grow rhubarb at the edge of her garden.  I also know that rhubarb is frequently paired with strawberries, but I wasn't sure how to prepare any rhubarb dishes or baked goods.  Now I do.  And now I love rhubarb!  


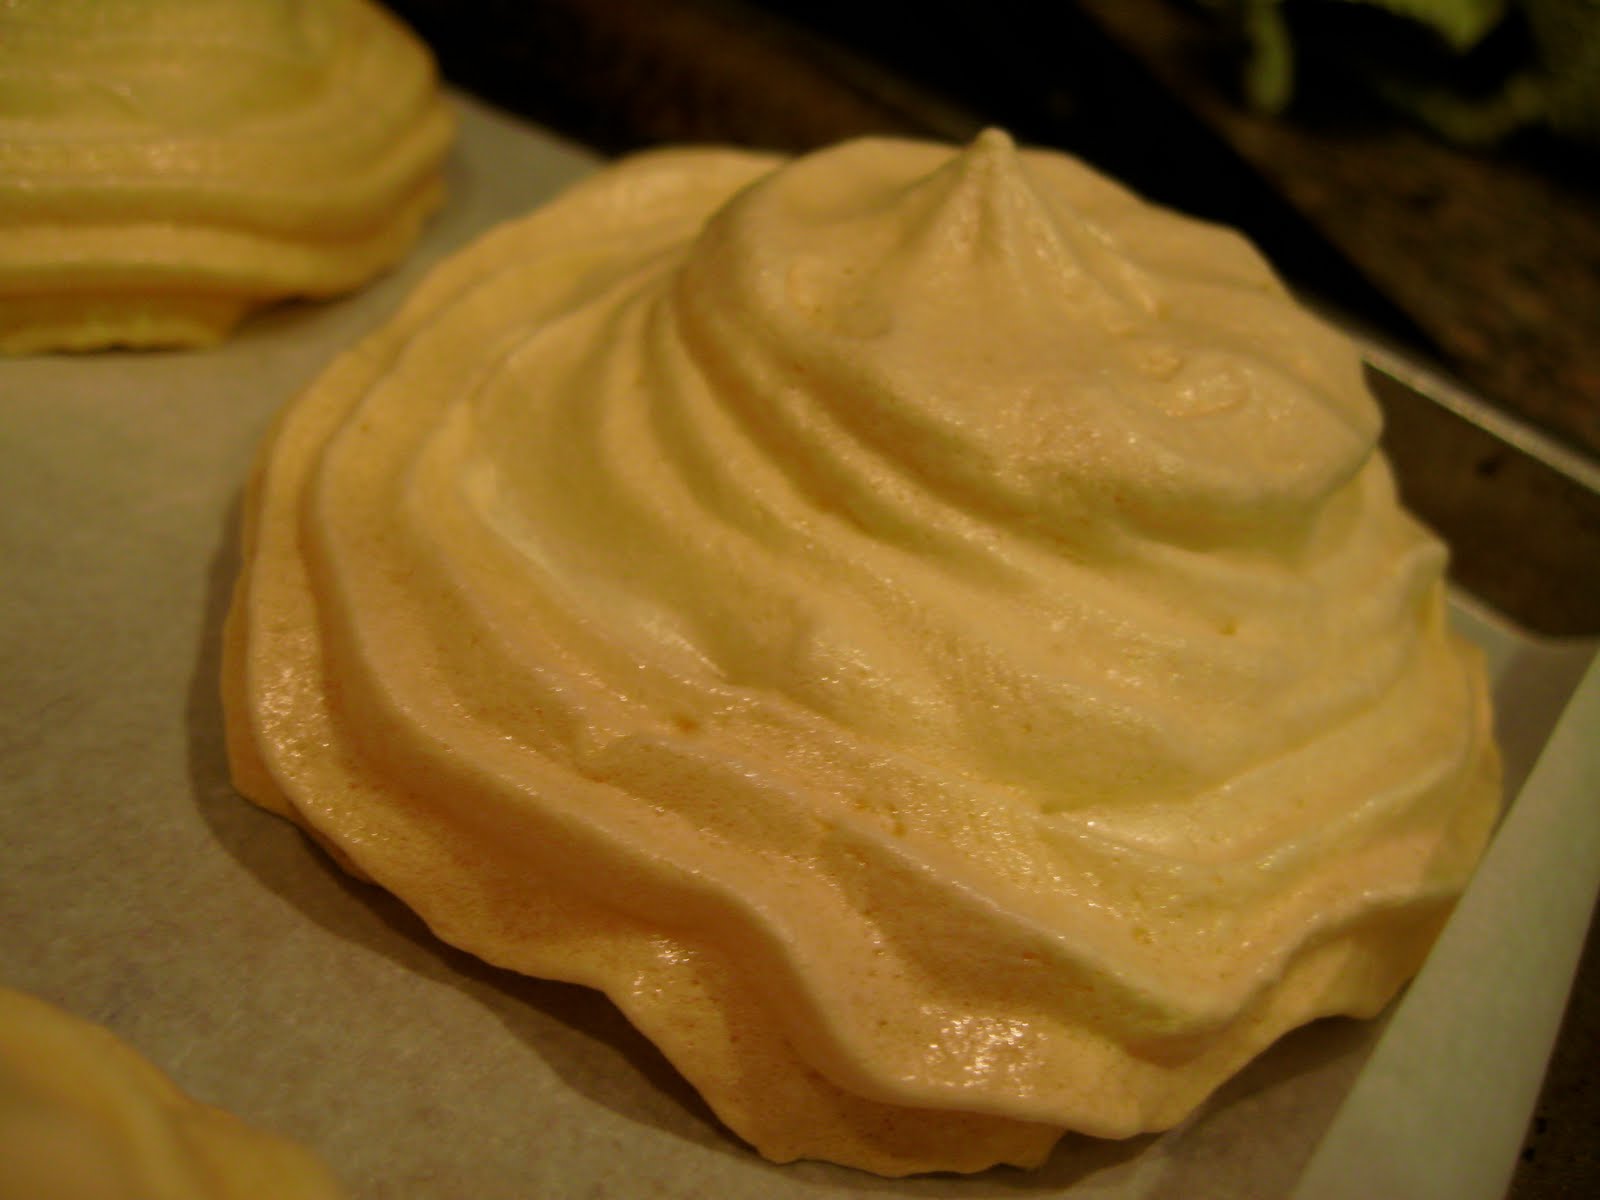
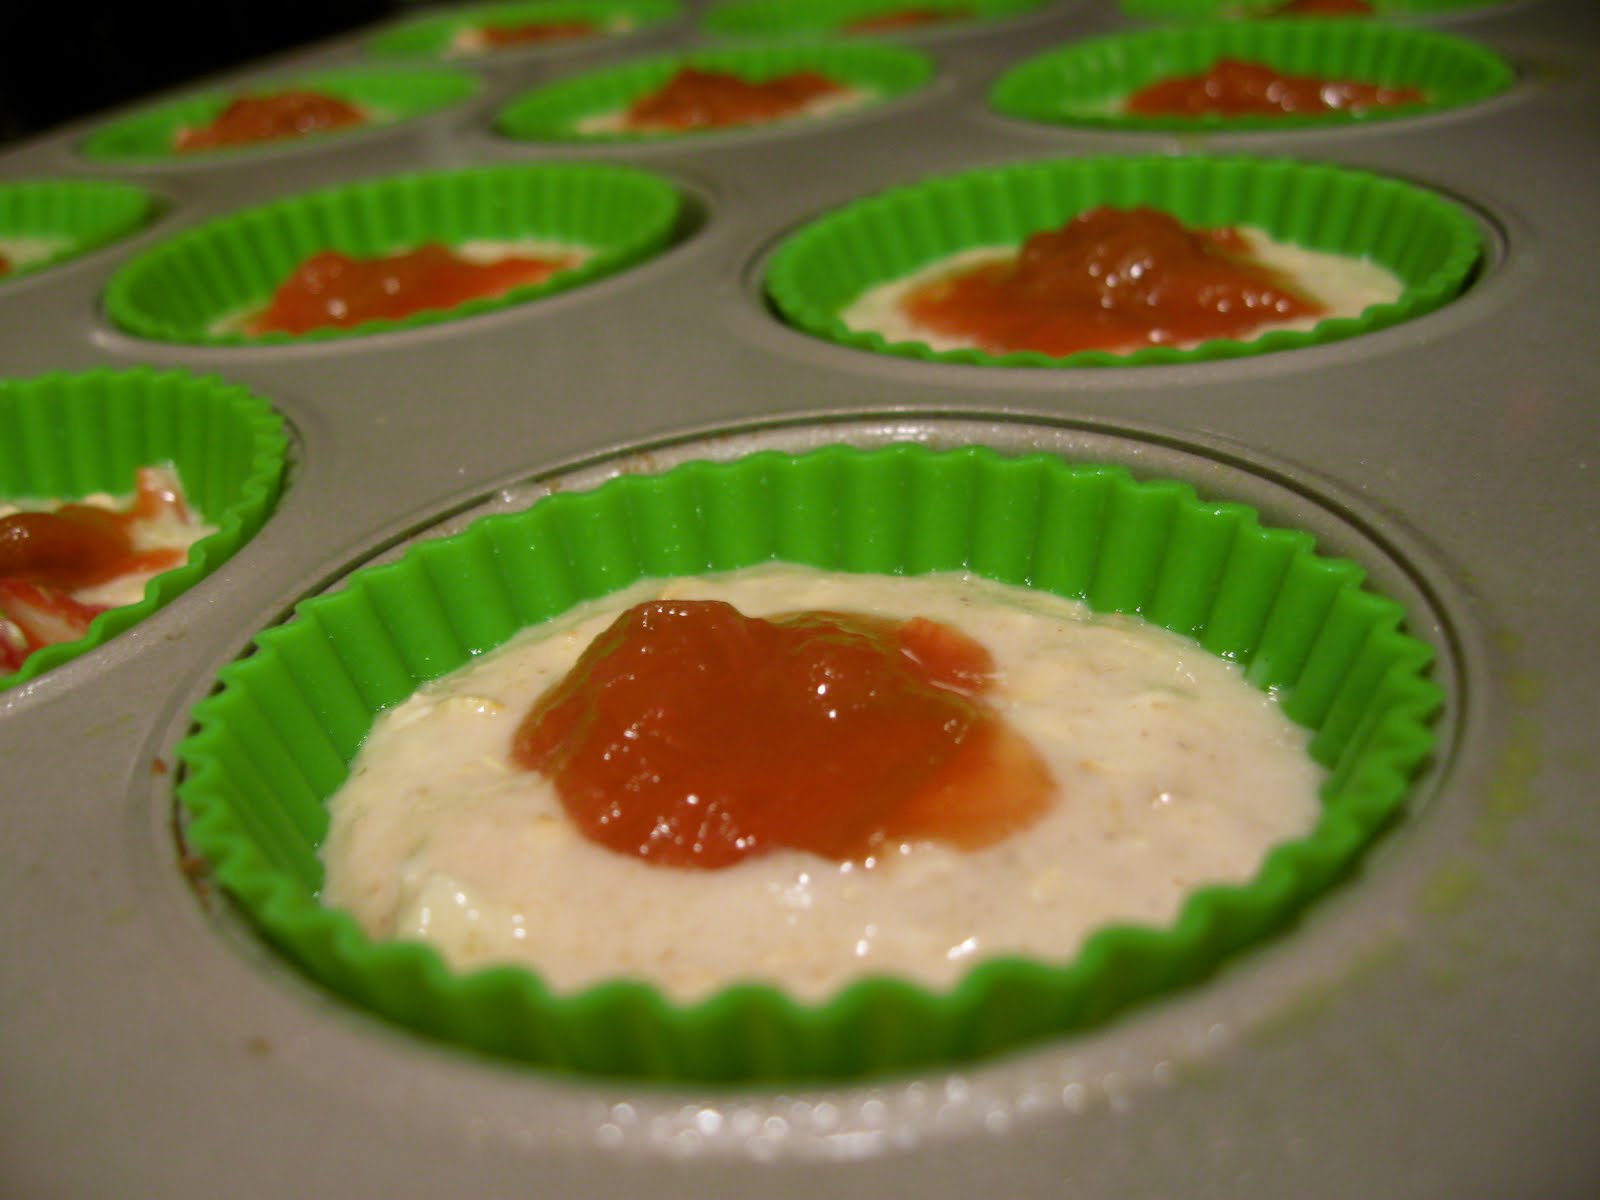
After reading an informative ode to rhubarb at Simple Bites, I decided to make a honey rhubarb compote and use it a few different ways.  I created a rhubarb vinaigrette dressing and served it with a salad and chicken sausage.  I baked some soft meringues and topped them with the compote and strawberry slices pavlova style.  I also swirled a spoonful of rhubarb compote into the top of some strawberry ginger muffins and topped them with oatmeal for my students to enjoy on one of our testing days.  A few kids loved them, but perhaps I was asking a bit too much with the combination of candied ginger and rhubarb.  Most third graders are more accustomed to chicken nuggets, pizza, and pop tarts.  My muffins were a bit too...um...mature?  Real?  


Honey Rhubarb Compote
adapted from Simple Bites

5-6 cups fresh rhubarb
1/2 c. orange juice
1/4 c. honey

Rinse and cut rhubarb into one-inch pieces.  In a saucepan, bring orange juice to a boil and then add rhubarb and honey.  Lower the heat to medium and cook slowly for about 10 minutes.  Remove from the heat and cool completely.  The compote will thicken over time.  Store it in a jar in the refrigerator until you're ready to use it.  


Rhubarb Vinaigrette 
by Rachel

2 Tbsp. rhubarb compote
4 Tbsp. olive oil
1 Tbsp. balsamic vinegar
pinch of sugar

Combine all the ingredients in a small bowl and then use an immersion blender to smooth out the dressing.  Try serving this with mixed greens, sugar snap peas, strawberries, goat cheese, and chicken sausage.  Delicious!  


Strawberry Rhubarb Ginger Muffins
by Rachel

1 c. whole wheat flour
1 c. all-purpose flour
1/2 c. sugar
6 tsp. baking powder
1 tsp. salt
1 tsp. cinnamon
2 c. oats
2 eggs, lightly beaten
2 c. milk
4 Tbsp. vegetable oil
1/2 c. chopped fresh strawberries
3/4 c. tart apple, cubed 
2 Tbsp. candied ginger bits
1/2 c. rhubarb compote 

Topping
1/2 c. oats
1 Tbsp. butter

Preheat oven to 425 F.  Line two muffin tins with 24 liners and spray lightly with nonstick spray.  In a large bowl, whisk together flour, sugar, baking powder, salt, and cinnamon.  Stir in the oats.  In a mixer on the lowest speed, lightly beat the eggs, milk, and oil until just combined.  Slowly add the dry ingredients until moist.  Stir in strawberries, apple pieces, and ginger.  Pour the muffin batter into muffin cups.  With a teaspoon, put a dollop of rhubarb compote on top of each muffin.  Using a knife, stir the compote into the batter just enough to create a swirl, but not enough to turn your muffins pink.  In a small microwavable bowl, melt 1 Tbsp. butter.  Stir in 1/2 c. oats and then top each of the muffins with some of the oatmeal crumble.  Bake for about 15 minutes.